
How to Register for PSA Online Appointment Easily (2026)?
Many people get confused by the word “register” when booking a psa online appointment. It sounds like you need to create an account, but that’s not actually the case. There’s no need to sign up, create a username, or remember a password. The process is much simpler than most government systems. You just complete a form, verify your details using an OTP, and select your preferred schedule.This guide explains what registration really means in the PSA system and how you can complete the process without any confusion.
What “Register” Means in PSA
Unlike most websites, PSA does not require you to create an account.
When they say “register,” they simply mean filling out the appointment form. Once you complete it, the system sends all your details to your email, including your appointment slip and QR code.
There’s no dashboard to log into later. No profile to manage. Everything you need is sent directly to your email, so it’s important to keep it safe.
In short, it’s a one-time process: fill out the form, receive your confirmation, and show up on your scheduled date.
Things to Prepare Before Booking
Before starting, make sure you have the following ready:
Personal Information:
- Your full name (exactly as shown on your ID)
- A valid email address
- An active Philippine mob
- ile number
- Complete name of the certificate owner
- Preferred PSA outlet
- Type of certificate (PSA marriage certificate, birth Certificate, death Certificate, CENOMAR, etc.)
Technical Requirements:
- A device with internet access
- A web browser
- Pop-ups enabled
You don’t need to prepare any usernames, passwords, or security questions.
Step-by-Step Booking Process
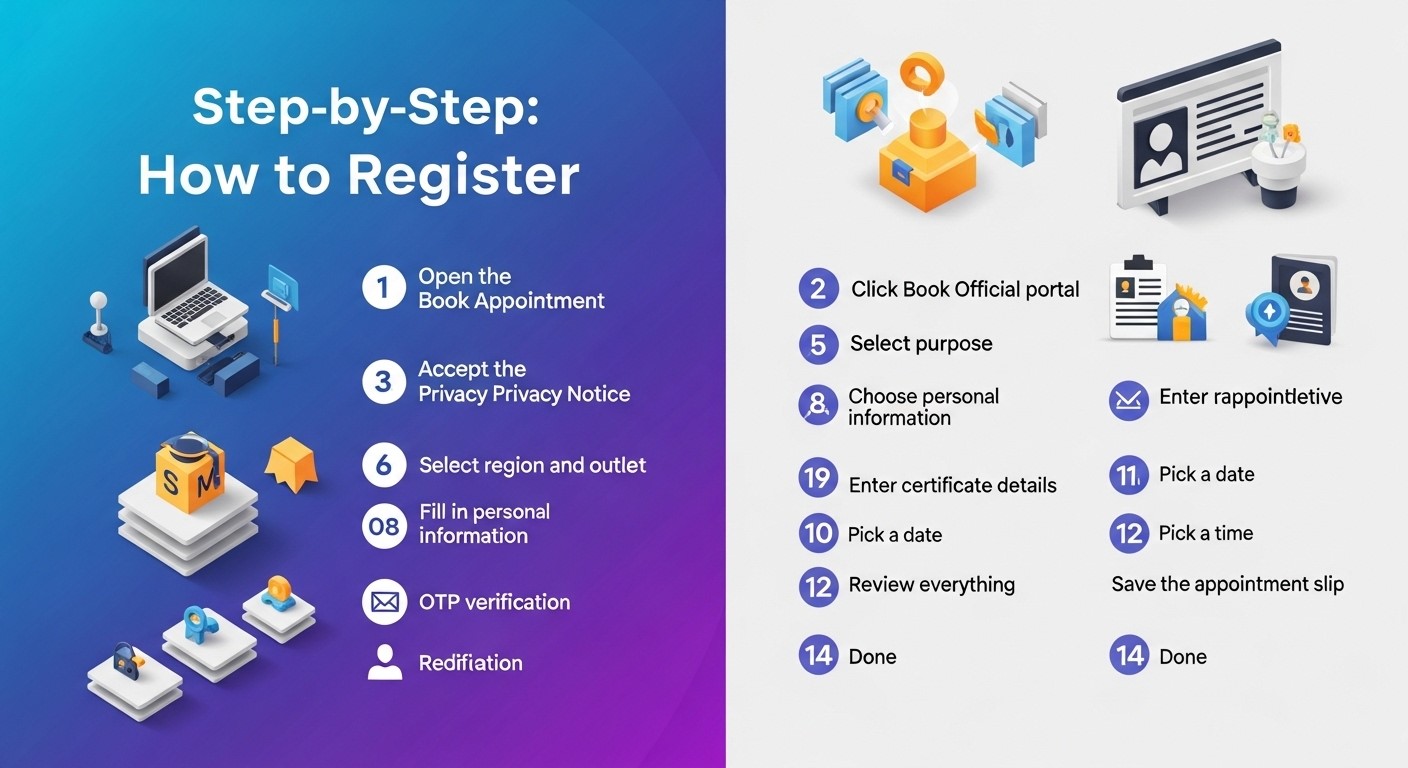
- First, open your browser and go to the official PSA appointment website. Be careful to avoid fake sites.
- Click on the “Book Appointment” button and agree to the privacy notice when prompted. After that, read the reminders and proceed to the next step.
- You’ll then select the type of certificate you need. After choosing, pick your region and the specific PSA outlet.
- Next, enter your personal details such as your name, email, and mobile number. Make sure everything matches your ID exactly.
- Once submitted, you’ll receive a one-time password (OTP) on your phone and email. Enter this code to verify your identity.
- After verification, provide the certificate details, including your relationship to the person and their full name. If you need multiple documents, you can add more entries.
- You’ll then choose your preferred date and time. Available slots will be shown clearly, so just pick what works best for you.
- Before confirming, review all the information carefully. If everything is correct, finalize your booking.
- Finally, save your appointment slip. You’ll receive it via email along with a QR code. It’s best to keep multiple copies, print it, take a screenshot, or save the email.
Why This System Is Simple
One of the best things about this system is that it doesn’t require account management. You don’t have to remember login details or worry about forgotten passwords.
Everything is completed in one session, and all important information is sent directly to your email. The QR code acts as your entry pass, so there’s no need to log in again later.
Common Mistakes to Avoid
A common issue is entering the wrong email address. Since there’s no account system, you won’t be able to recover your appointment details if the email is incorrect.
Using nicknames instead of your legal name can also cause problems. Always match your ID exactly.
Another mistake is not saving the appointment slip immediately. Once you leave the page, you can’t retrieve it without the email.
Also, don’t forget to check your spam folder if you don’t see the confirmation email in your inbox.
What to Bring on Your Appointment Day
Make sure you bring:
- Your appointment slip with QR code
- A valid government-issued ID
- Exact payment for the certificate
There’s no need to bring any login information since no account was created.
Arrive at least 15 minutes early, as late arrivals may lose their slot.
If You Encounter Problems
If you don’t receive your confirmation email, check your spam folder first. If the email address was entered incorrectly, you’ll need to book again.
If you lose your appointment slip, you can try contacting the PSA helpdesk, but recovery is not guaranteed.
To change your schedule, use the cancellation link in your email and book a new appointment.
Final Thoughts
Registering for a PSA appointment is much easier than it sounds. There’s no account creation involved, just a simple form, a quick verification, and you’re done.As long as you save your confirmation email and bring the required documents, the entire process should be smooth and hassle-free.